

Branding
Your brand kit: the logo, fonts, and photos every guest-facing surface inherits.
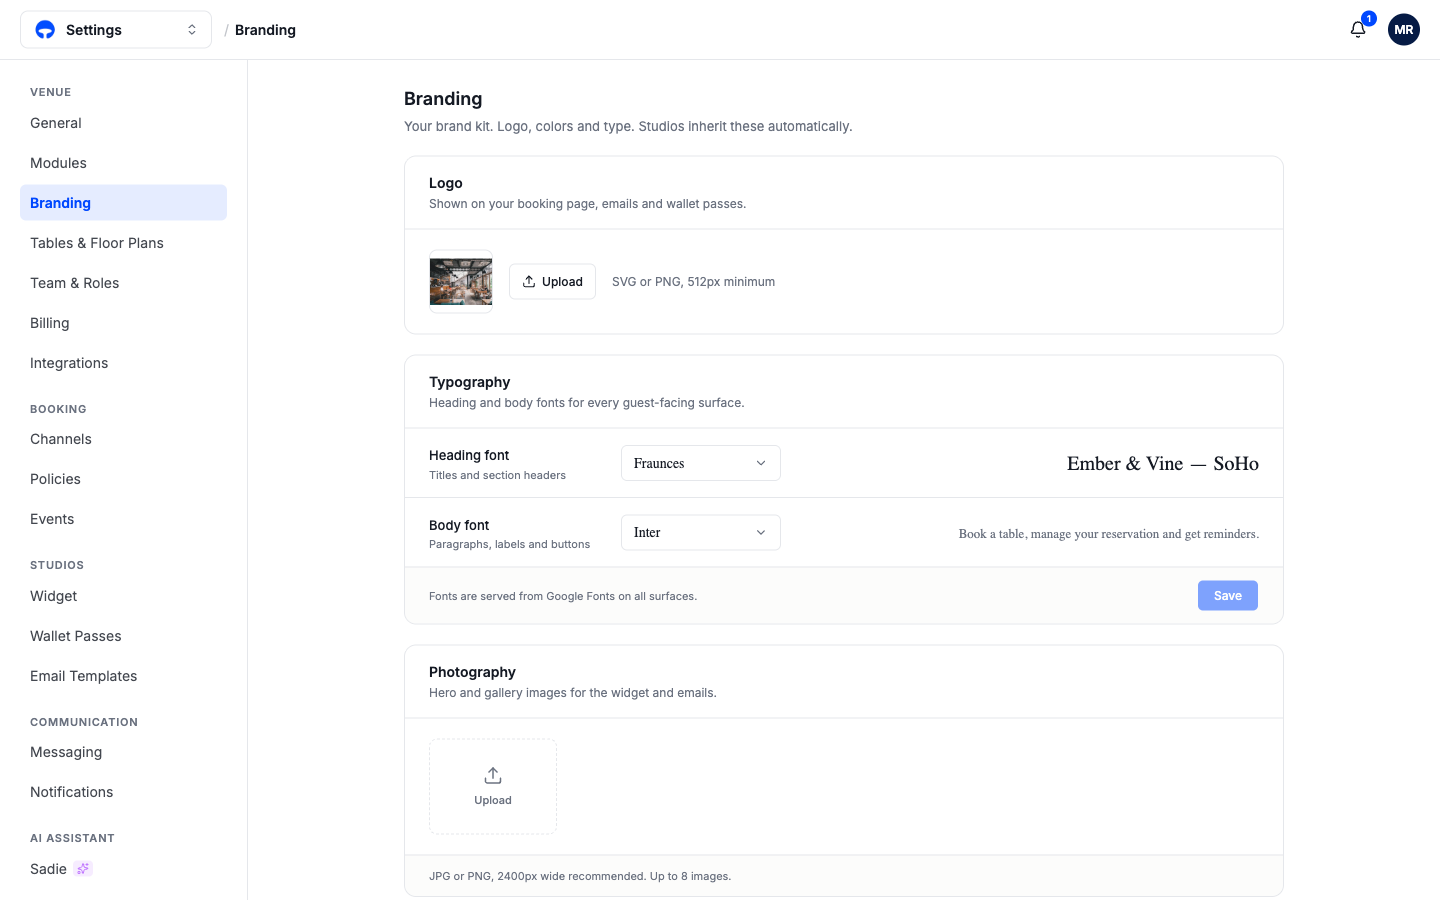
The Branding page holds your brand kit: logo, typography, and photography. Set it once and every guest-facing surface inherits it, including your booking page, confirmation emails, and wallet passes. Open the menu at the top left, choose Settings, then click Branding.
Logo
Upload an SVG or PNG at least 512 pixels wide. It appears on your booking page, in emails, and on wallet passes. A logo with a transparent background sits best on photos and colored headers.
Typography
Pick a heading font for titles and a body font for paragraphs, labels, and buttons; the preview beside each shows your venue name and a sample sentence in the chosen font. Fonts are served from Google Fonts on every surface, so what you pick here is exactly what guests see.
Photography
Upload up to 8 images, JPG or PNG, ideally 2400 pixels wide. They feed the photo galleries in the booking widget and your emails. The hero photo behind your booking page header is separate: that is the cover image, set from the widget settings.
Where the kit shows up
The studios inherit the kit automatically: the booking widget, the email templates, and your wallet passes all start from these values. Each studio can override individual pieces, an accent color here, a different cover crop there, without touching the kit itself. Saving any part of the brand kit also ticks the Branding step on the Go live checklist.